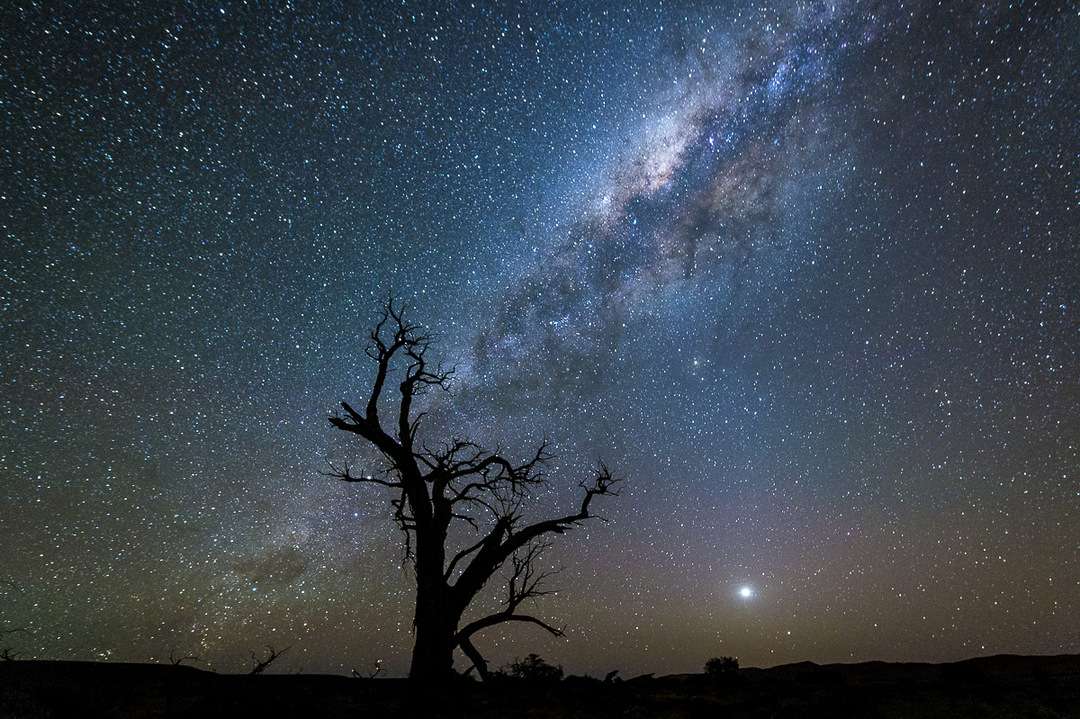
Longfellow described the night sky as ‘the infinite meadows of heaven’ and it seems appropriate that as the light wanes over the Namib Desert, the stars bloom in glorious colours. One by one.
There are few things that I like better than taking pictures of the night sky. There’s not just the joy to be out, alone, in the cool night air, but also a technical and creative fulfilment that satisfies in another way.
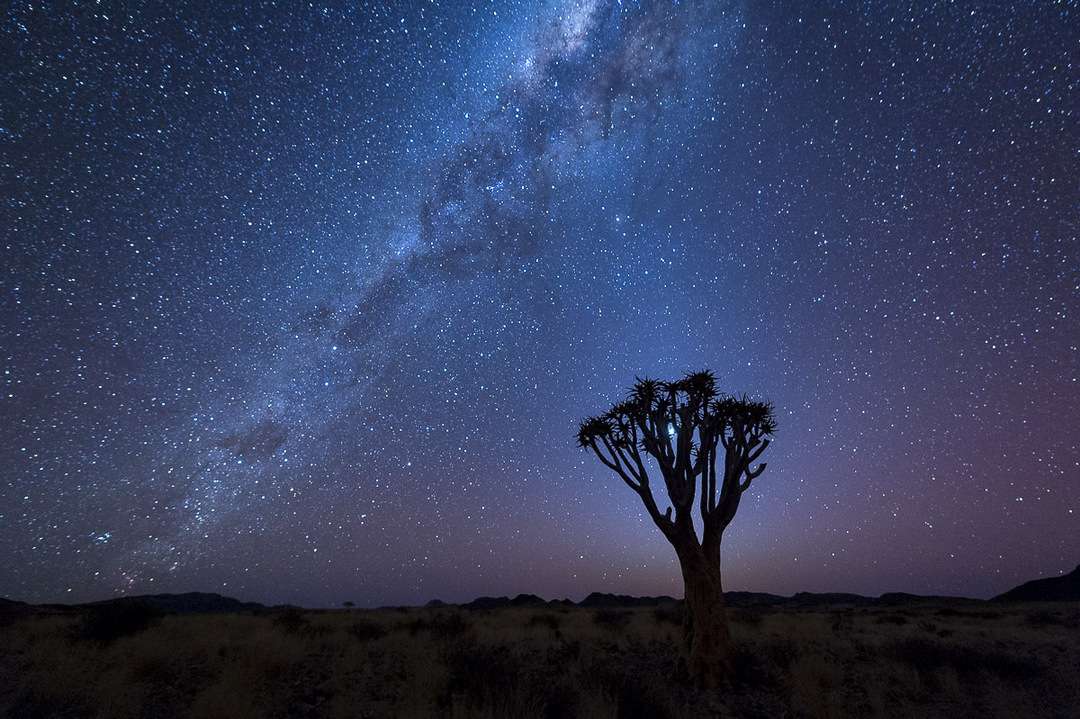
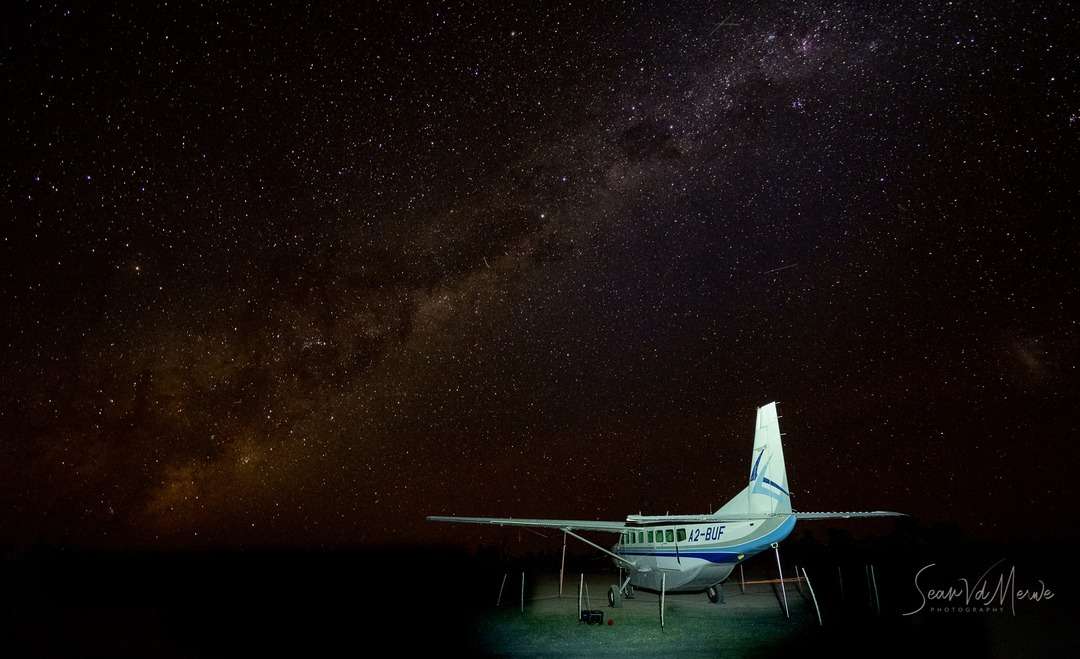
But to be out here, in the southwest of Africa, is even more of a treat. It’s one of the darkest and most lonely places on the planet, and it’s a comforting feeling to hear the occasional call of a spotted eagle-owl alongside the gravely crunch of boots in the long late silences of the night.
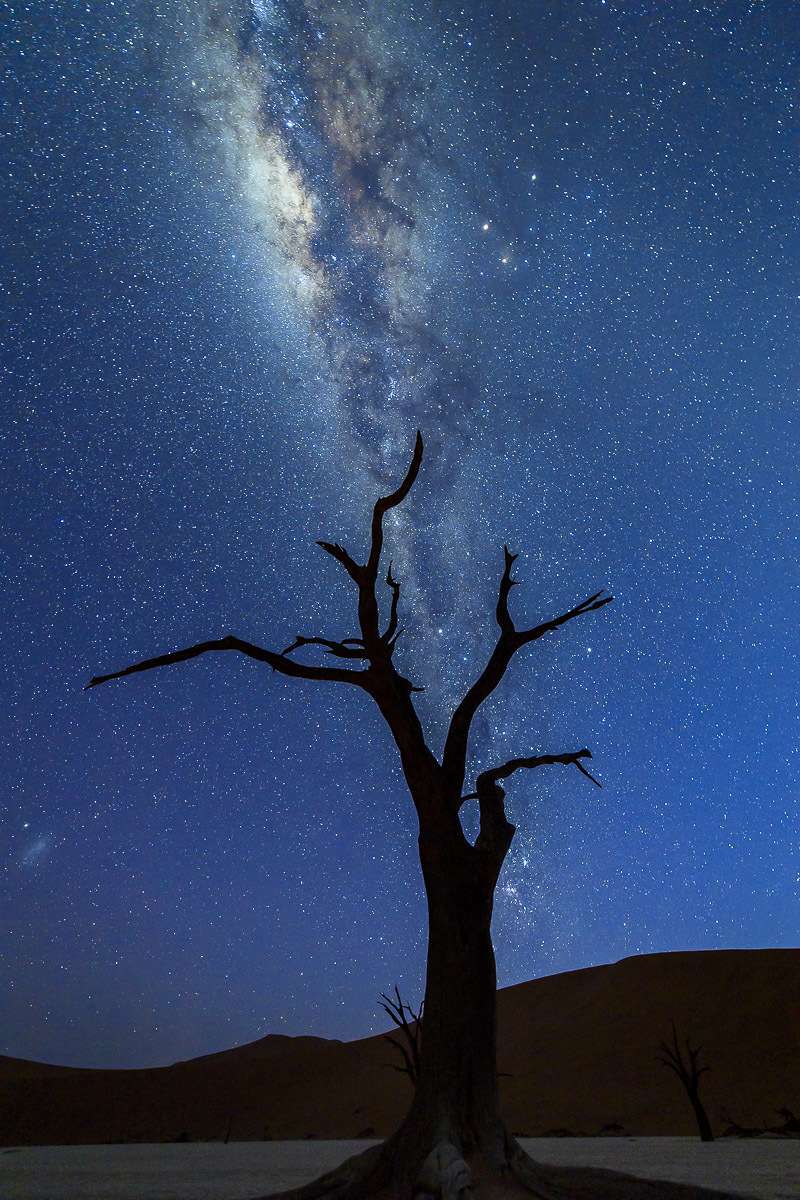
Photographing stars is a challenge. We need a tripod to hold things steady, a wide, bright lens to let lots of light in, a moonless night and the Milky Way high over the horizon.
Once those things fall in to place, it’s a question of scouting out a good foreground, one that we can set off against the stars, and then setting up our shot.
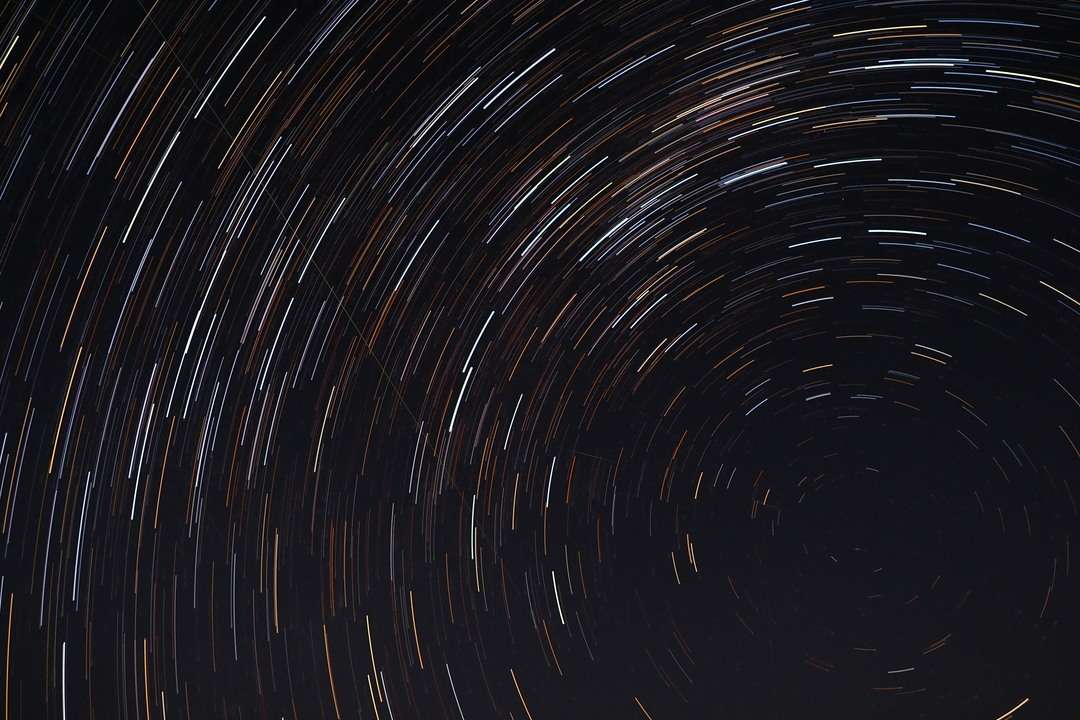
Most of the time there are two types of shot, stars as points of light (SAPL) and star trails. Of the two, I prefer SAPL because they are quicker to achieve, look beautiful to my eye and we can take more than one scene during the night.
Star trails are risky, more technical, and time consuming, taking three to four hours to achieve a good one.
PHOTOGRAPHING STARS AS POINTS OF LIGHT
Night sky photography is always tricky because we achieve it on the edges of technology. We need a camera capable of detecting the faintest of light, but we have one enormous advantage. Time.
When we look at the night skies, we see the light in real time, but with a camera, we can choose a longer exposure and capture the light over a period of seconds, minutes and hours. This is a fantastic way to emphasise the details in the sky and the landscape.
As is often the case with photography, there is one fly in the ointment. The stars move gently overhead and blur any images we capture over too long a period.
So we have to balance the length of the exposure to minimise movement in the stars.
To do this, we can use a simple rule. For web-sized images taken with a 35mm sensor, use 600 / Focal Length of the lens = Exposure time in seconds. For example, 600 / 24mm = 25 seconds exposure.
For larger prints or smaller sensors, it’s better to use 400 or even 200. For example, 400 / 24 = 17 seconds. The shorter time limit means less light captured.
The next setting we have to think about is the aperture of the lens. When gathering light, we usually have to shoot at near maximum aperture. For example, F4 or F2.8.
ISO settings also have to be set quite high. It’s important to test these on the scene we’ve selected and I often just cycle through the options taking one picture at each setting – it only takes an extra minute and it is much easier to see which is best once back home in front of the computer.
Normally, I take one shot at ISO 12,800, 6400, 3200.
It is best not to use the back of the screen to judge exposure because it will appear artificially bright to our eyes at night. Better to always use the histogram and ensure that the bulk of the image is in the left third but separated from the left edge.
FOCUS
Focusing at night usually has to be done manually. The best method is to set your camera to a high ISO and look for a bright star or planet on the LCD screen. Then set the camera to manual focus and carefully adjust it until the star is the smallest size you can get.
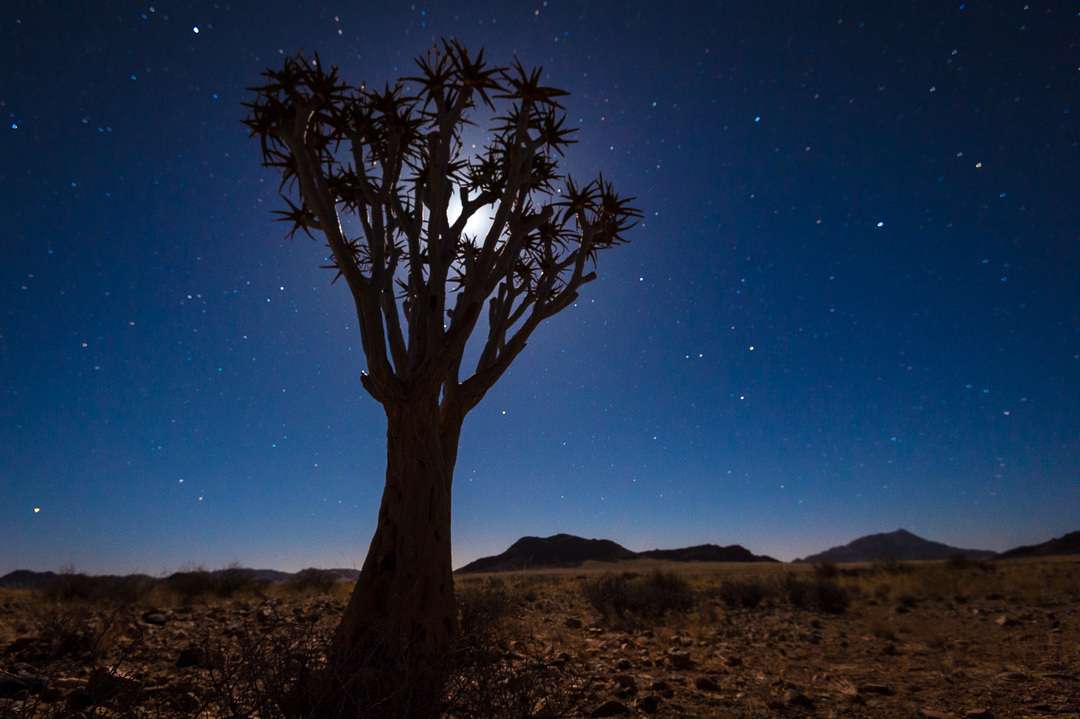
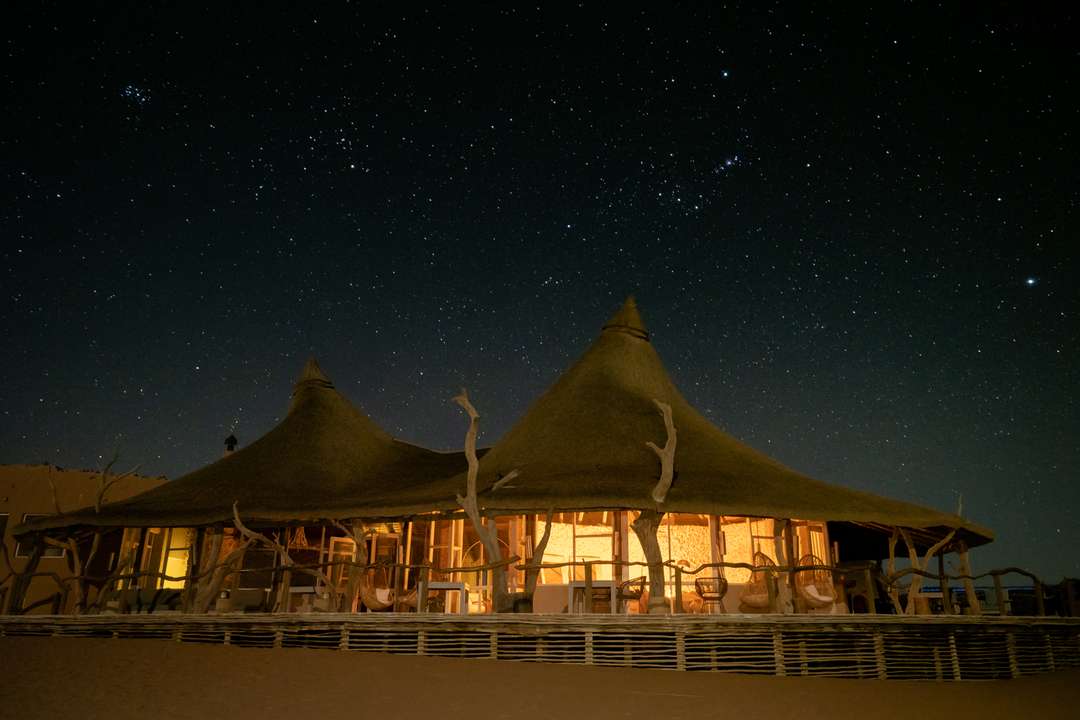
LIGHTING THE SCENE
When the camera is firing at 25 seconds it will capture the stars but it will not capture much of the foreground. It will be far too dark!
One thing we can do is to use a hand-held flashlight/torch to ‘paint’ light over the foreground but instead of shining the flashlight directly at the foreground, face it back towards your hand. This will add a soft warm glow to the foreground elements instead of harsh, cool light with strong shadows.
Experimenting with light painting is good fun!
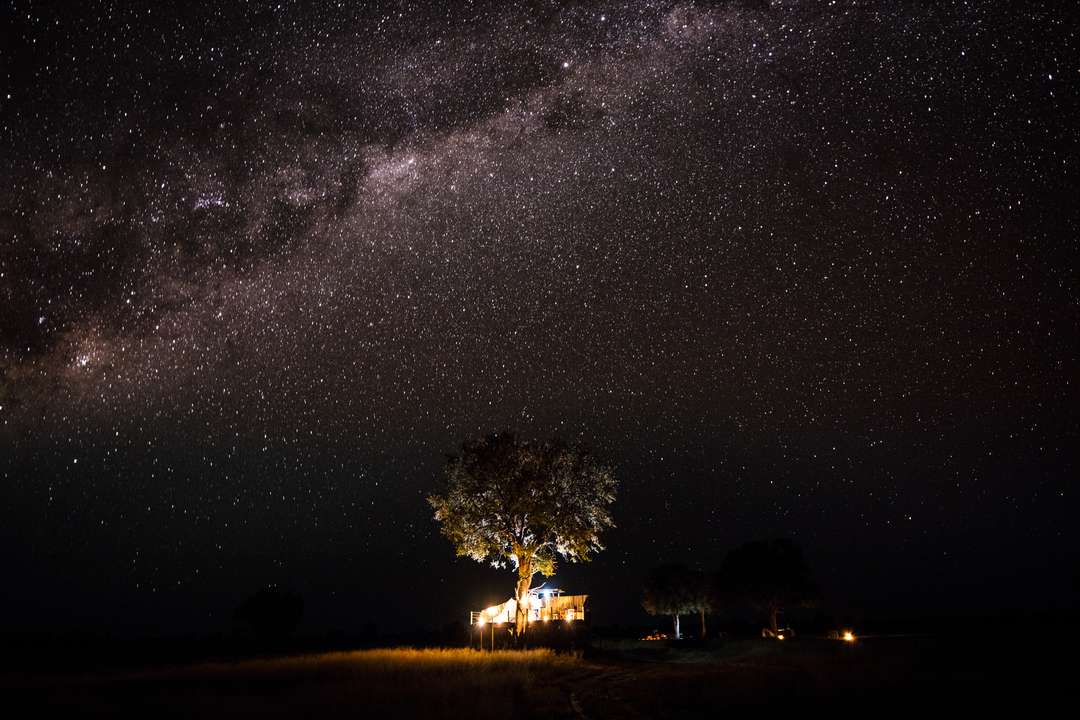
ADVANCED NIGHT SKY PHOTOGRAPHY
Like any kind of photography that explores the edges of what is possible, we can take the process further. The principal theme with these techniques is to use the ONE great advantage we spoke about earlier – time.
To do this, we take a sequence of images of the same scene and stack them together back at home on the computer. We can align the moving stars manually, or use free software to do it automatically (My Sequator Video)
When image stacking, it is also common practice to take four or five images specifically focused on the foreground at higher apertures and with different areas light-painted to achieve sharper pictures with more foreground interest.

If you want to learn more about night sky photography, I have a series of tutorials here.
Written by Will Goodlet

Let’s plan your next journey
Ready?
When we say we’re there every step of the way, we mean it, literally. From planning the perfect circuit, to private inter-camp transfers on Wilderness Air, and easing you through Customs. We’re with you on the ground, at your side, 24-7, from start to finish. Ready to take the road less travelled? Contact our Travel Designers to plan an unforgettable journey.